How to add a water filter onboard.
Photos and story by Capt. Frank Lanier
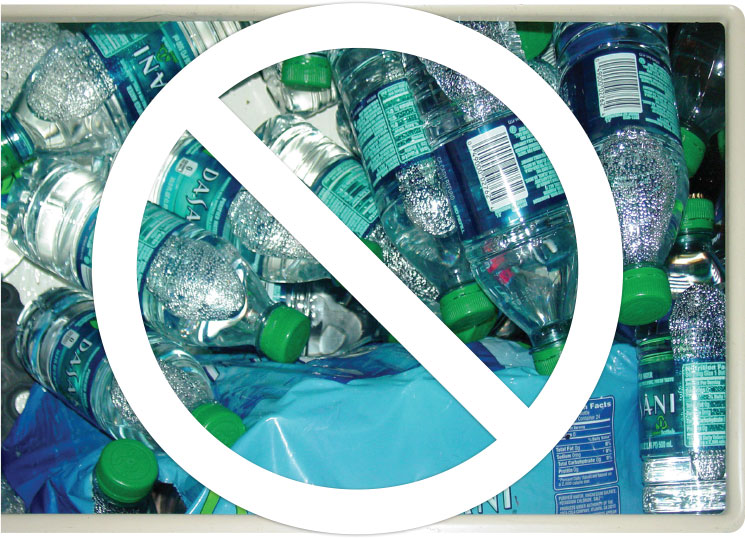
Poor-tasting water is often a sad fact of life aboard many boats. Owners cart countless cases of bottled water onboard, as none of the crewmembers willingly drink the boat’s tank water. One simple way to help transform the Hell’s broth of foul-tasting H2O spewing from your faucet into the maritime equivalent of a pure mountain stream is by adding a water filter.
Filter selection
There are many aftermarket filter options, such as domestic or RV-style units, available online or from local big-box stores. These will help to a degree, but I’ve found you tend to get what you pay for with regard to filtration and purification systems. You’ll spend a bit more for marine-grade units, such as the Seagull or Nature-Pure QC2 line manufactured by General Ecology, but they are excellent units that shouldn’t be dismissed due to price alone. While you’ll want to follow the specific installation instructions for your particular filter, here are some basic steps that can be used when installing most any inline water filter.
Basic preparations
The filter will be plumbed into your freshwater system’s cold water line, typically at or near your galley sink. Our example system includes a filter or canister that also comes with a dedicated filtered water faucet that will be mounted at the galley sink.
The first step is to read the installation instructions. This is important, both to become familiar with the installation and to help spot any potential problem areas for your own particular installation.
Next, gather any necessary tools and supplies, such as a drill, hole saw, mounting screws, adjustable wrench, thread sealant tape, hoses and marine-grade hose adapters, or barbed fittings and hose clamps.
When ready to proceed, turn off the boat’s freshwater pressure pump and open the galley faucet to release system pressure and drain the lines.
Placing a small towel or pan under your work will help catch any residual water, as well as any wayward parts that may try to escape.
Mount the filter housing
- Select a vertical, easily accessible spot underneath the galley sink or in a nearby cabinet — one that provides easy access to the cold water line, as well as a solid place to mount the filter housing.
- Test-fit the filter housing to make sure you have enough clearance below and around it to remove the canister and install replacement ones.
- Using the mounting bracket as a template, mark the mounting screw locations, then screw the bracket into place.
Install the water filter faucet
- Select a location at the sink for the faucet, one that is out of the way, but provides easy access.
- Use the provided template to check the installation for potential problems. Check beneath the mounting area as well, both to make sure you have sufficient access to complete the installation and to avoid drilling into something unexpected.
- If possible, choose a location that allows you to mount the faucet in the countertop rather than the sink ledge. Drilling a mounting hole through stainless steel, porcelain or other sink materials complicates the installation and can lead to sink damage.
- Tape the template in the spot you’ve chosen, then use it as a guide to drill the mounting hole.
- Mount the faucet per the instructions.
Plumbing connections
- In most cases, you will have to install a tee fitting in the line supplying cold water to the galley sink, which would then be used to supply water to the filter. Depending on your setup, this will involve either disconnecting fittings and installing a compression tee fitting inline or cutting the supply line and using a barbed tee fitting and hose clamps.
- Once the tee fitting is installed, install a hose connecting the water supply line from the tee fitting to the inlet port of the filter housing.
- Connect a hose from the filter output connection to the filtered water faucet.
- Tighten all fittings or hose clamps snugly, but do not overtighten.
Last steps
- Install the cartridge filter into the filter housing.
- Turn your freshwater pressure pump back on and check all connections for leaks.
- Open the purified water faucet and run the water continuously for 3 to 5 minutes to flush out trapped air and any loose carbon or manufacturing dust from the new cartridge. Then, drink up!
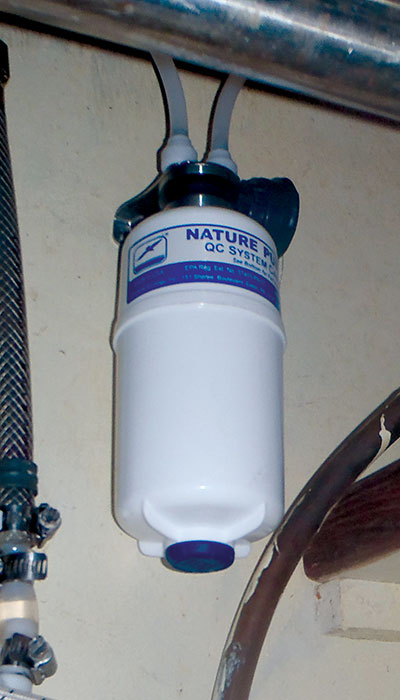
The filter housing is typically mounted underneath the galley sink or in a nearby cabinet.
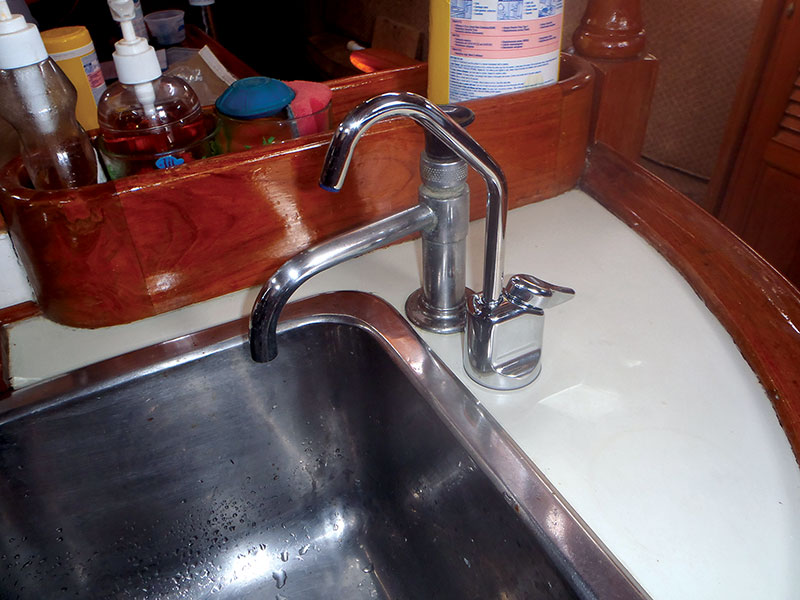
A water filter faucet installed next to the sink.

CAPT. FRANK LANIER is an award-winner journalist, boat maintenance guru and owner of Capt. F.K. Lanier & Associates, Marine Surveyors and Consultants. Check out his YouTube channel “Everything Boats with Capt. Frank Lanier.” CAPTFKLANIER.COM